Building a Herringbone Wall
So..for my recent project at Leopold Place in Edinburgh, myself and the client built the feature wall in the kitchen. It has been created from reclaimed school flooring. From these incredible people: http://www.hargreavesreclaimedflooring.co.uk/
I'm going to use some photos to explain this process..
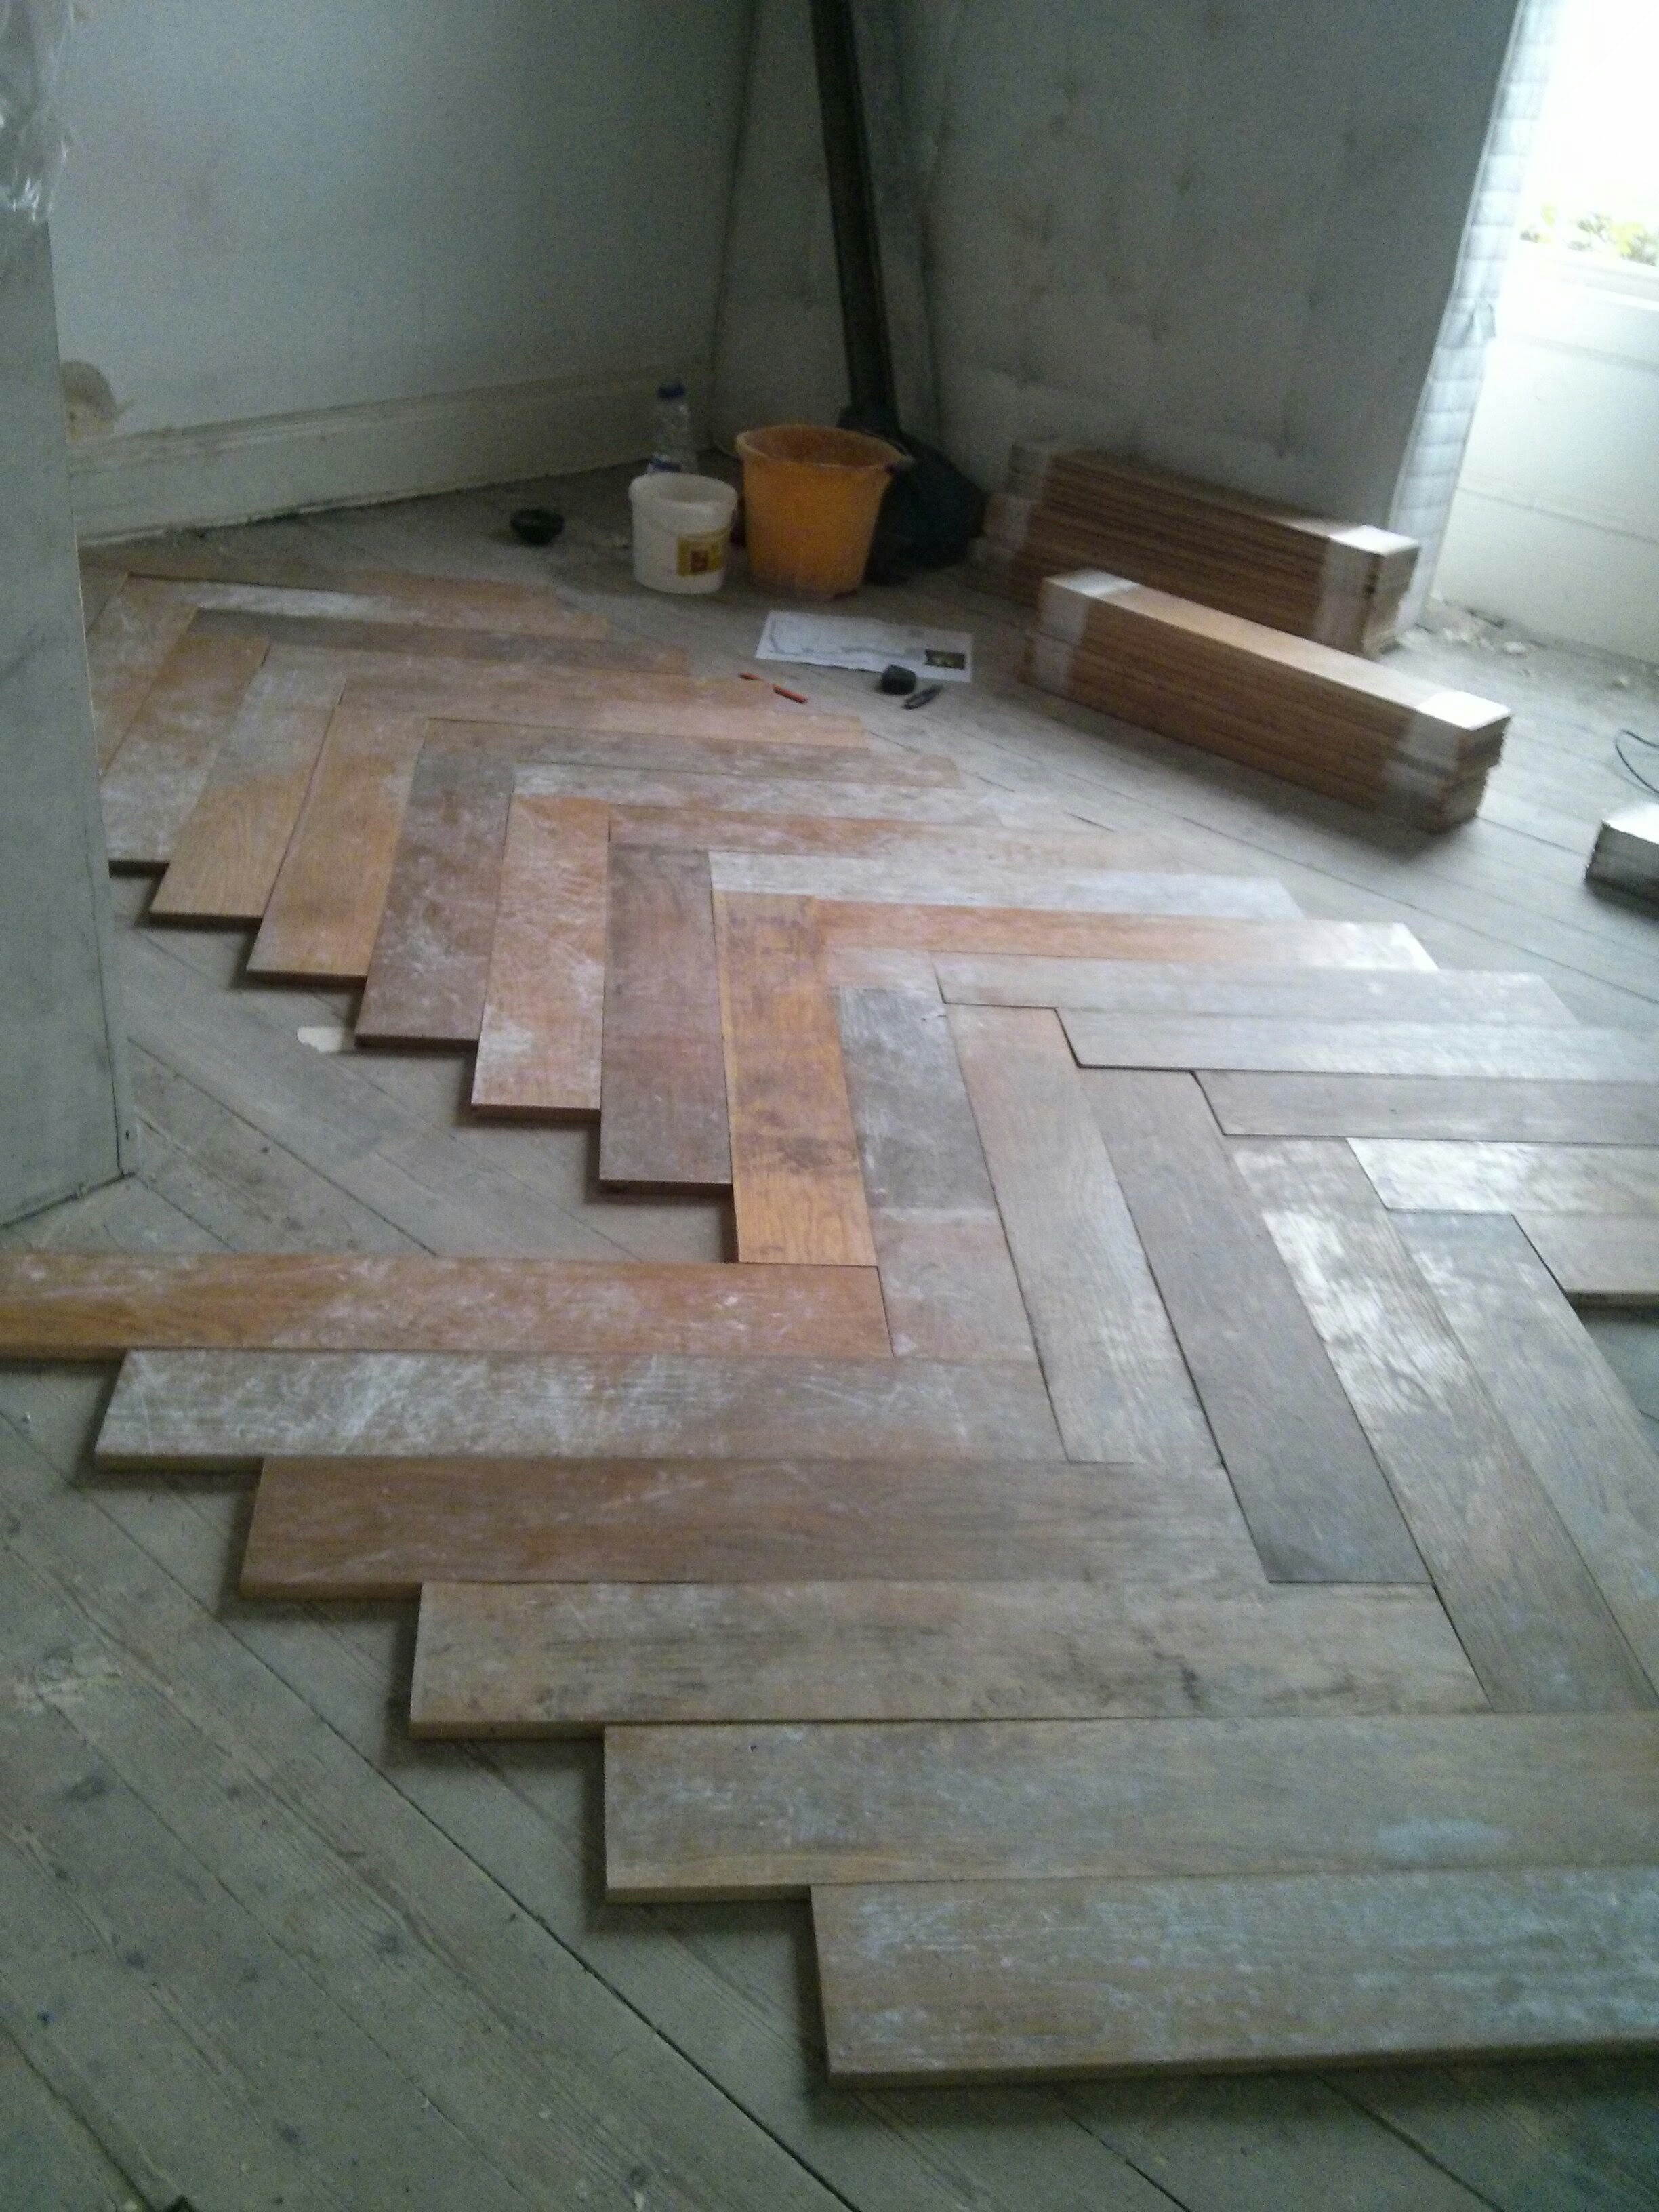
^ Unpacking the reclaimed oak flooring, and arranging it to see what would look best.

^ The wall prior to beginning the feature
After unpacking and assessing each piece, making sure they weren't too damaged and that as requested the size was consistent, we then sanded the surface back and used a wire brush to clean paint residue from marks and scrapes on many of the pieces.
^ Architectural Drawing of the potential construction method of lining the wall. You'll note be altered the alignment of the herringbone.

^ As you can see here we eventually lined the wall with plywood and made it flat and level.
We made the plywood substrate flat and level using foam to hold it out where nessecary. The challenge of the door into the high level water tank cupboard approached!! But we continued by lining up the orientation of the herringbone points and once the first board was in place centrally it was very easy to fill in the rest of the wall above, as the angle of cut remains the same for the whole height, so we could "mass produce" cut boards then place them.

^ Tower scaffold and the speed of the process, until we got halted for 3 days for that door!!
We made quick and steady progress securing the boards with wood glue and a nail gun (make sure your nails are substantial enough to make it through the solid Oak into the substrate.)
The door had been discussed with several contractors on the job, who had talked about a concealed hinge, such as used in the kitchen cupboards. I made a mock up door of how this would work and it needed to be so precise we had to scrap that plan, due the variations in the reclaimed boards. We also decided to override the advice of others who thought the door should open out.
It was much more sensible at that height, for maintenance and safety if the door to opened in. We bought some simple flush hinges and used those to create a plywood substrate door, and then continued to work the herringbone over it, which was tricky aligning them and cutting them without too large a gap between the wall and door, so as not to impact on the desired appearance, but enough to allow the functioning of the door.

^ The herringbone door completed!!! Along with the rest of the wall.
When the wall was completed we stained the timber a few shades darker and then dropped the tower scaffold. We bought some standard timber to edge the left hand side of the wall and stained that to match.

^ Detail of the door, and how we left the top corner piece in tact.

^ Holes for the cables drilled and pulled through as we fitted the wall, waiting for the light fittings to be installed.
^ Completed and stained wall, with lighting in place